Computer-Aided Design, Manufacturing, and Modeling
Objective
This week's task is to try different CAD software and model a possible final project.
This week I decided to play with Tinkercad, 123D Design, and FreeCAD, and I will start describing my experience with Tinkercad.
Tinkercad
Tinkercad is a browser-based (WebGL) very easy-to-use CAD tool, and one of the very cool things about it for newbies is the introductory tour through the 3D design process through 'Lessons', which teach the basics before moving on to more complex modeling techniques. Browsers that work well with Tinkercad:
Tinkercad is a very basic and easy CAD tool which is considered an advantage and disadvantage at the same time. On one hand it's a nice tool to draw very basic models and also helpful if you want to draw that basic shape and 3D print it, but on the other hand It's not a parametric design tool and has few design tools as well and that makes designing complicated shapes exhausting and tedious. One of the very annoying things about Tinkercad that if you want to resize, revolve, or align any shapes you need to do that manually by using the mouse and you can't even enter any values!
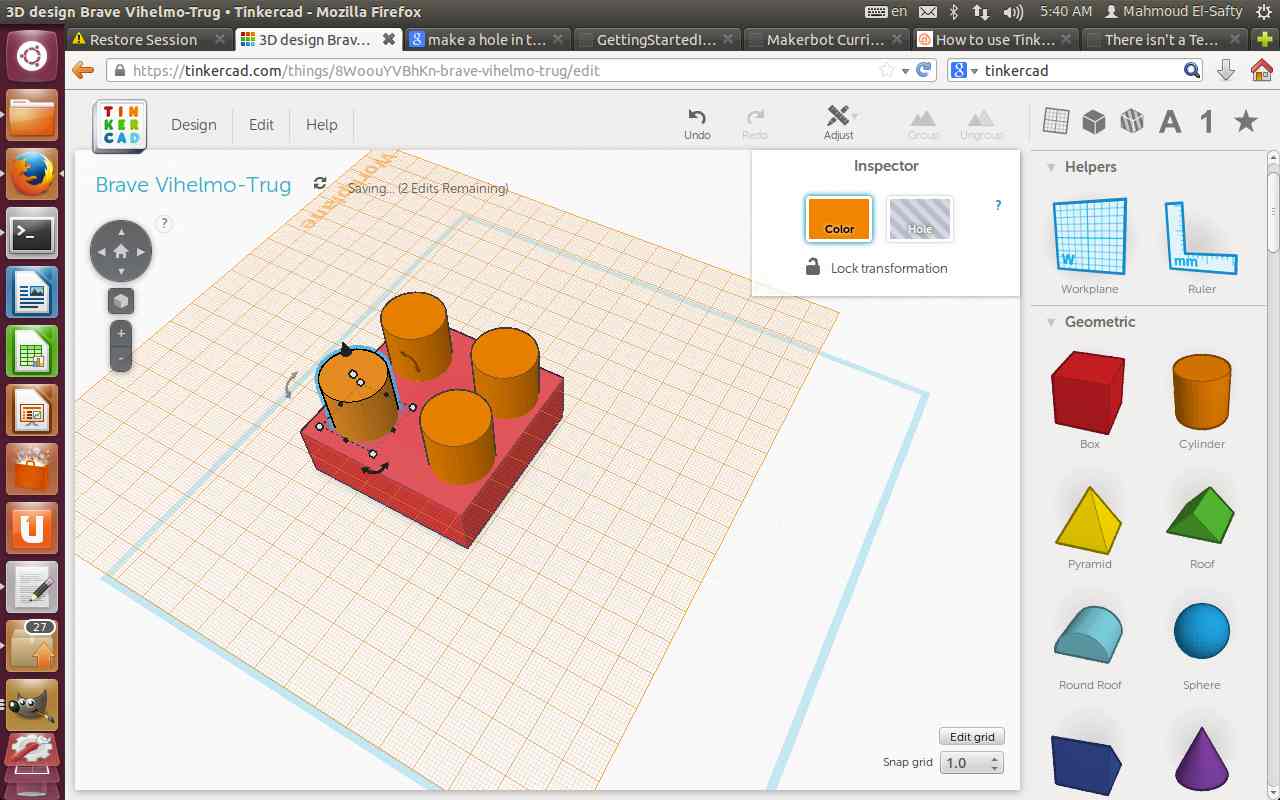
As experimenting with simple shapes I decided to draw a 3D model of a shim (spacer) using Tinkercad.
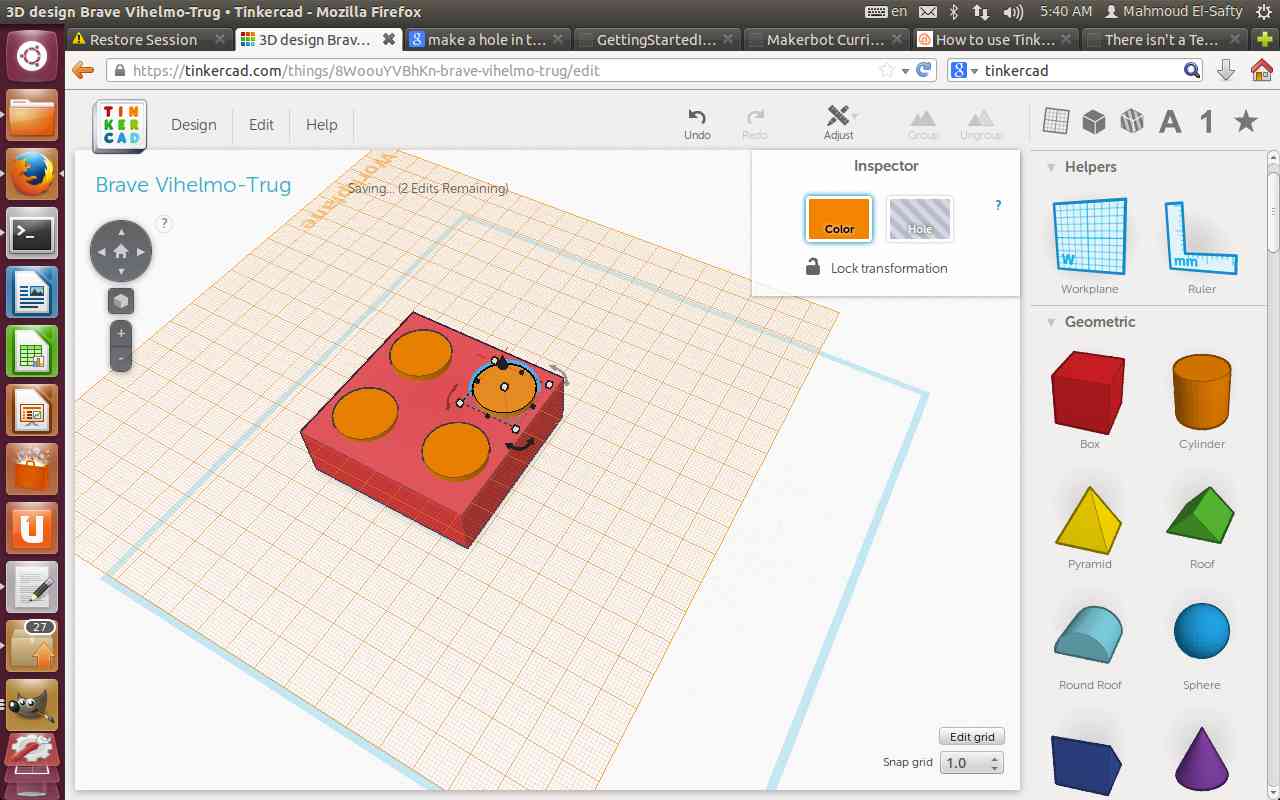
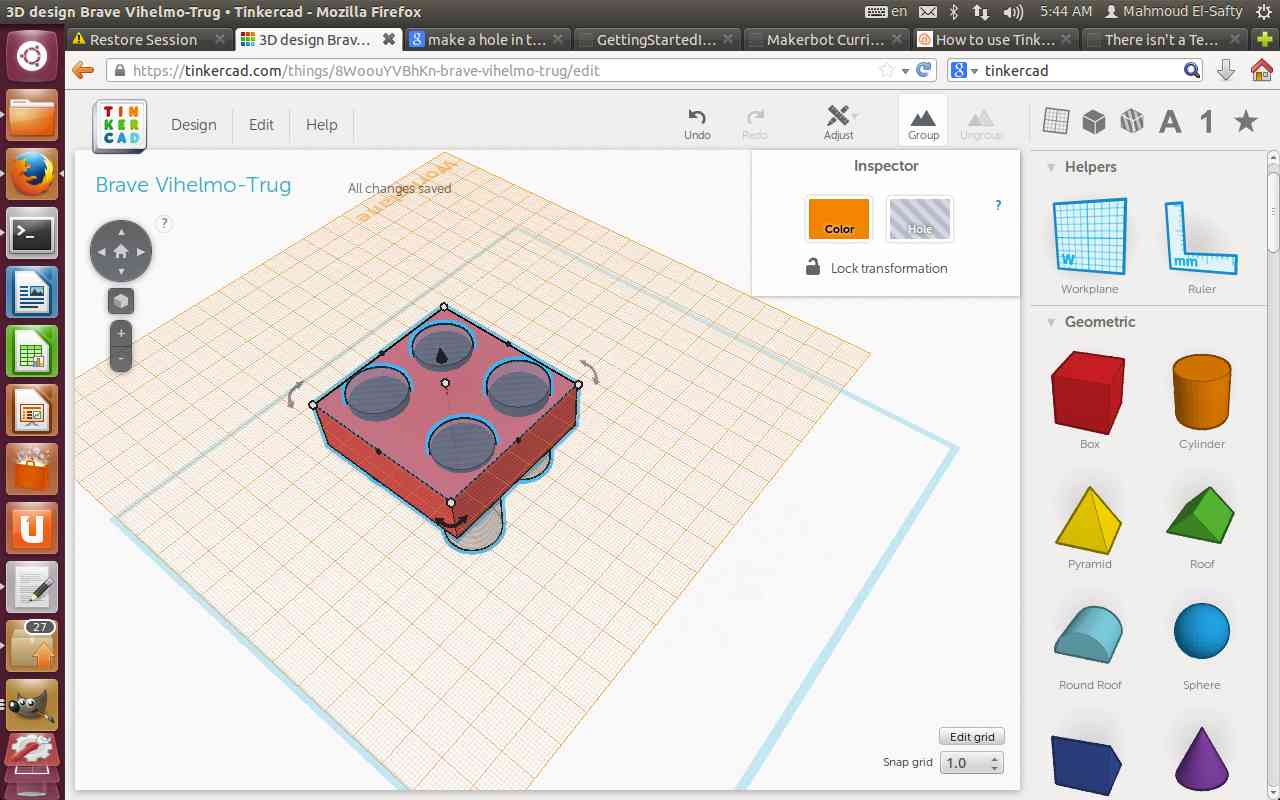
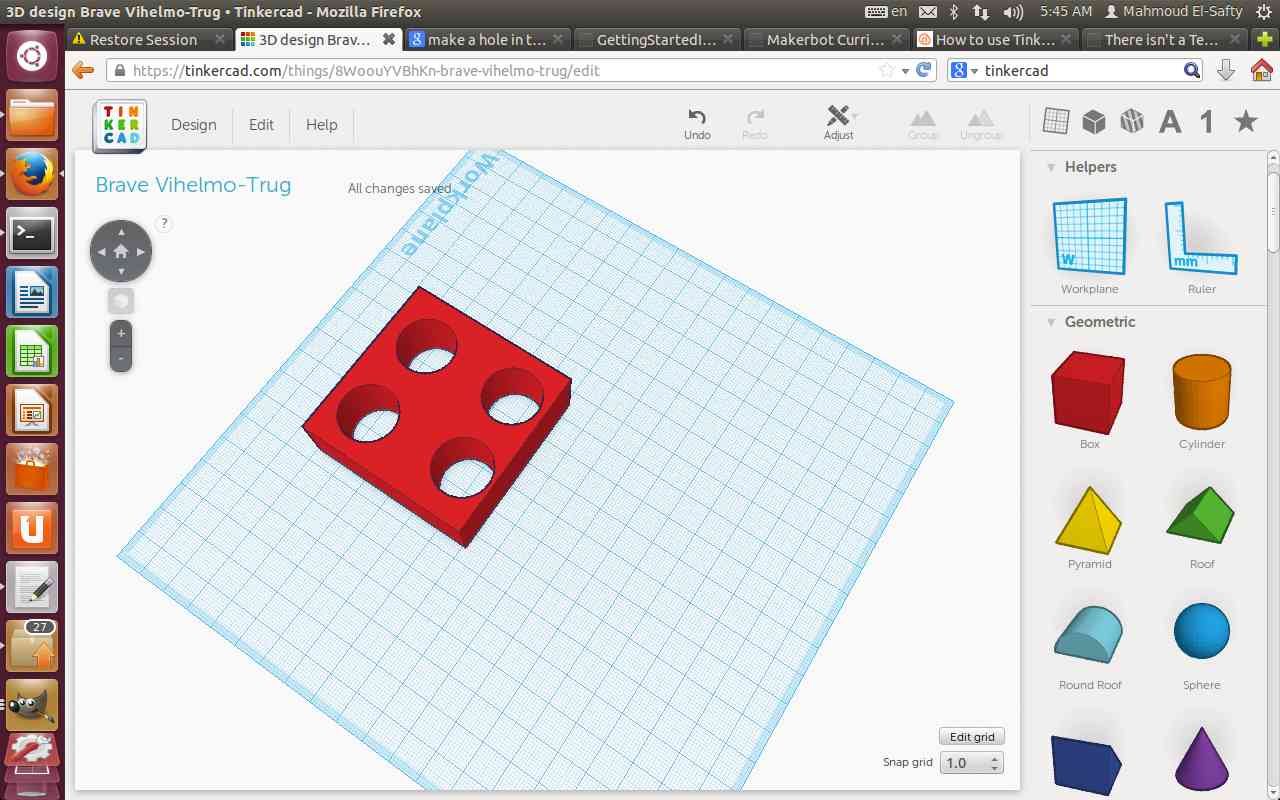
It was not easy to adjust the dimentions and even make threaded hole in Tinkercad
123D Design
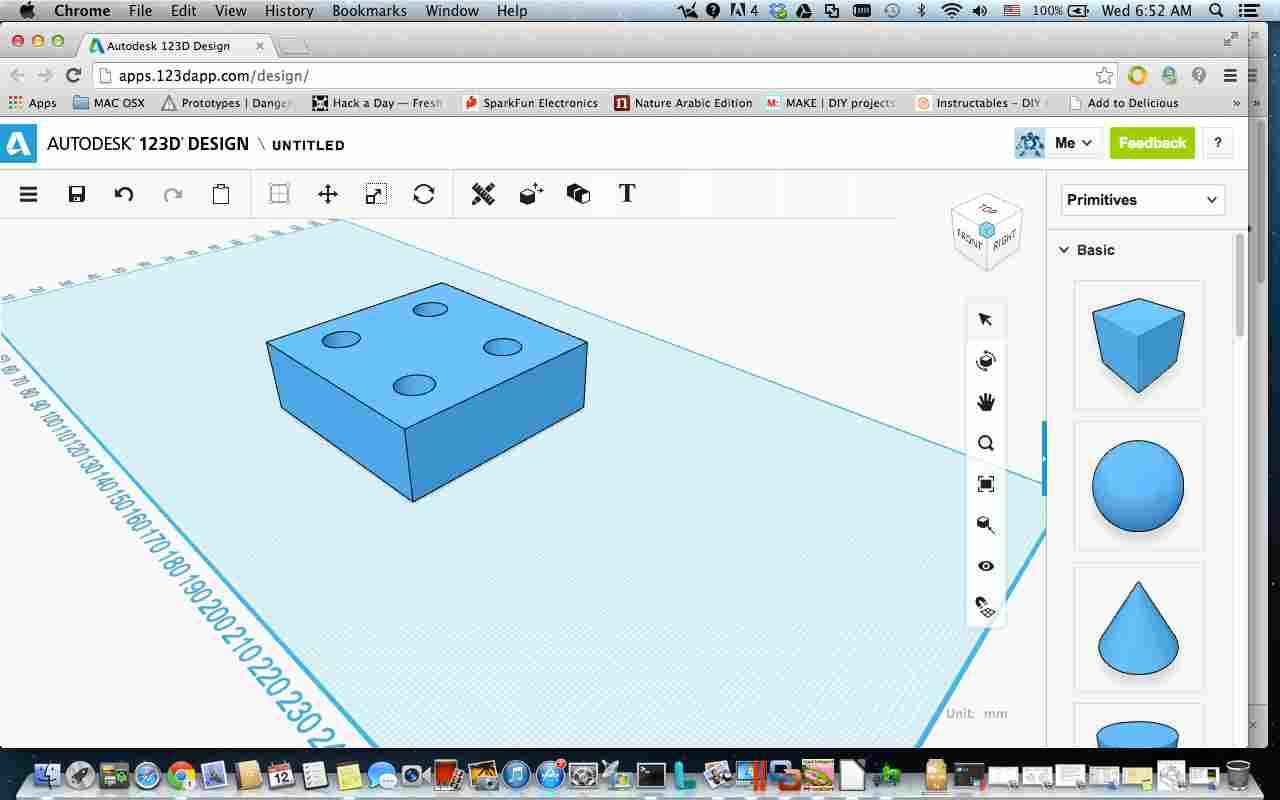
The second tool I played with was Autodesk 123D Design, and I tried the Mac version. 123D Design is another free CAD tool from Autodesk, and it is quite easy to use. It is more efficient and has more powerful math engine than Tinkercad, and has relatively more features and tools. It was very easy to install the software but it was a bit slow and I haven't figured out yet why. Now it completely crashed and I'm going to use the web-based version instead!.
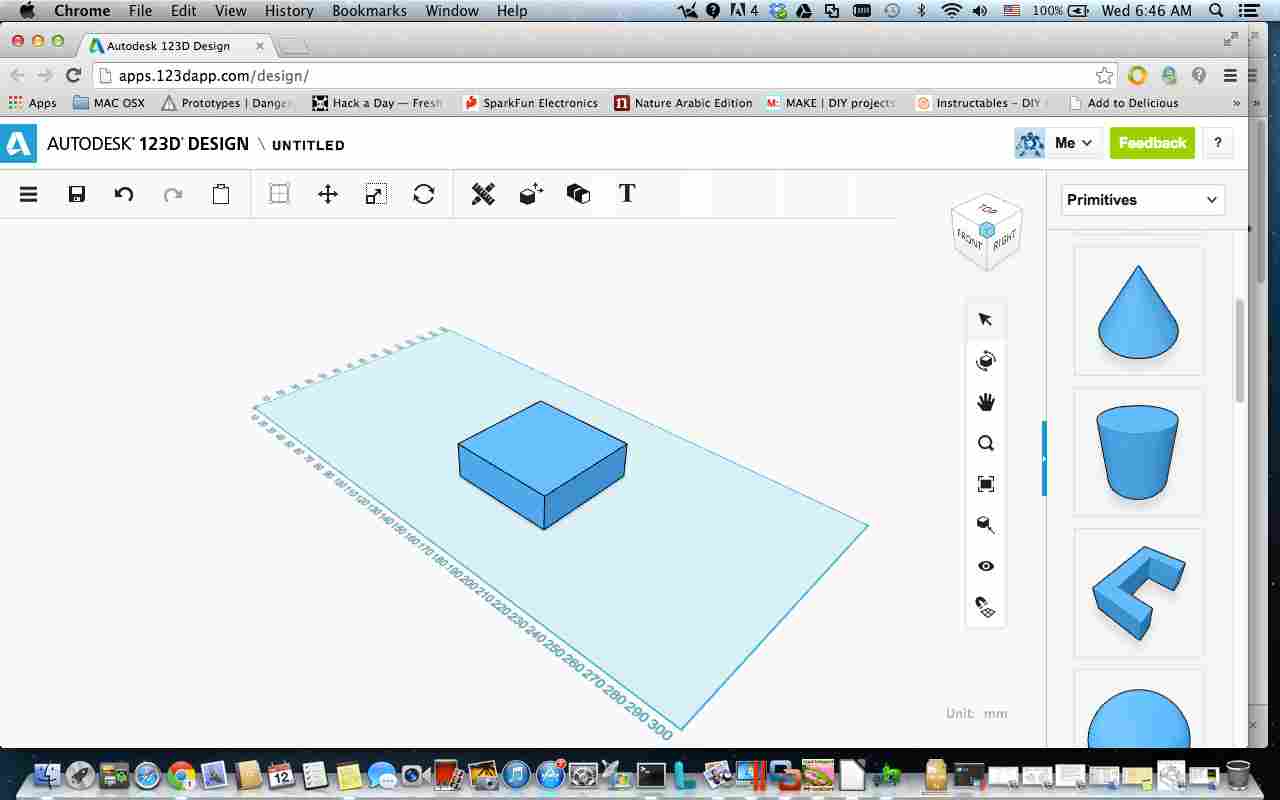
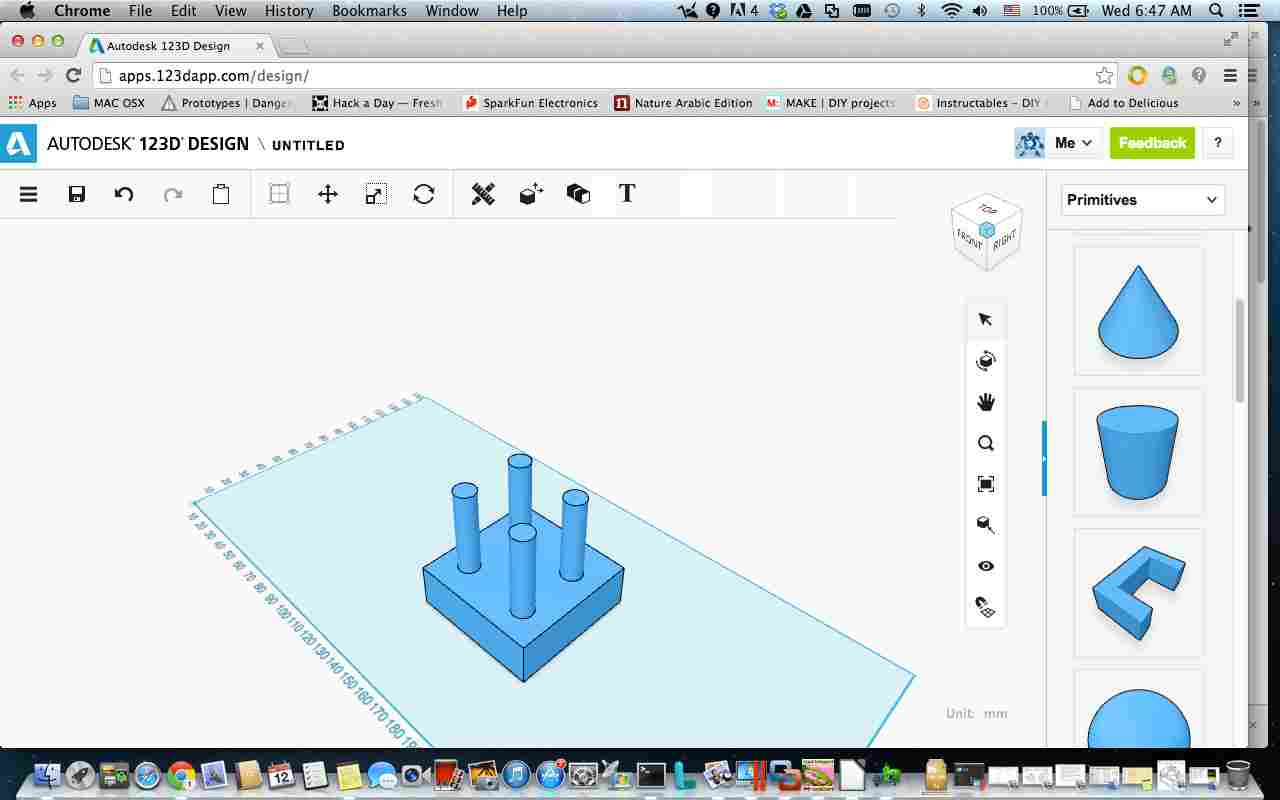
Again, I'm going to play with it and create the same shim I created before using Tinkercad!
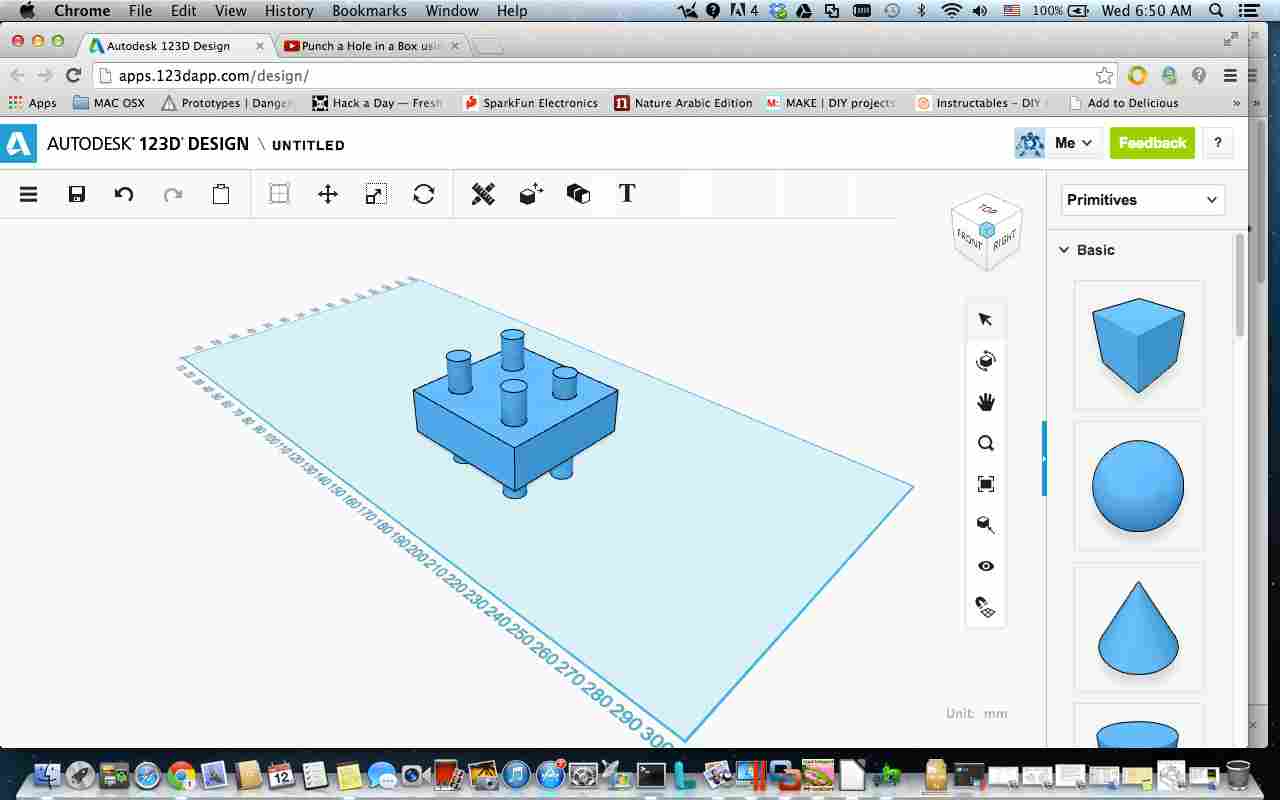
I used the same primitive shapes I used in Tinkercad, and the process was similar except for drilling holes.
FreeCAD
The third tool I played with was FreeCAD on Ubuntu Linux. FreeCAD is a parametric 3D modeler allows you to easily modify your design by going back into your model history and changing its parameters. FreeCAD is open source (LGPL license) and completely modular, allowing for very advanced extension and customization.
FreeCAD is multiplatfom, and reads and writes many open file formats such as STEP, IGES, STL and others.
What exists in the Ubuntu repository is version 0.12 and I wanted to install 0.13 as it’s the latest release and supports more new interesting features. So, I needed to upgrade freecad from 0.12 to 0.13, and in order to do that I followed the below steps:
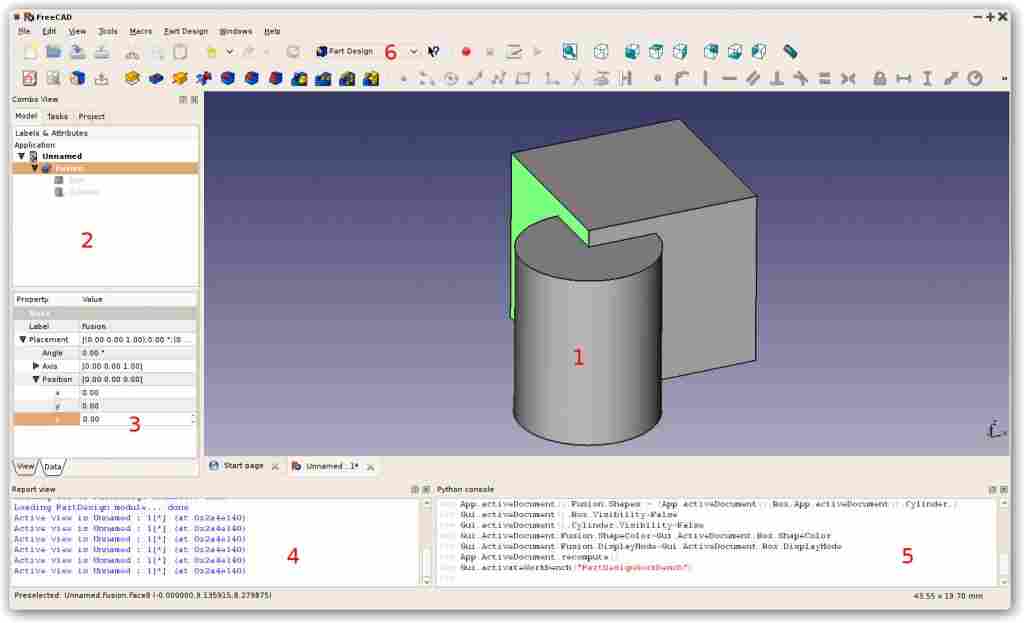
The main components of the GUI are:
The main concept behind the FreeCAD interface is that it is separated into workbenches. A workbench is a collection of tools suited for a specific task, such as working with meshes, or drawing 2D objects, or constrained sketches. You can switch the current workbench with the workbench selector. You can customize the tools included in each workbench, add tools from other workbenches or even self-created tools, that we call macros. There is also a generic workbench which gathers the most commonly used tools from other workbenches, called the complete workbench. When you start FreeCAD for the first time, you are presented with the start center:/

The Start Center allows you to quickly jump to one of the most common workbenches, open one of the recent files, or see the latest news from the FreeCAD world. You can change the default workbench in the preferences.
Working with the PartDesign and Sketcher workbenches (designing a part starting from a 2D shape)
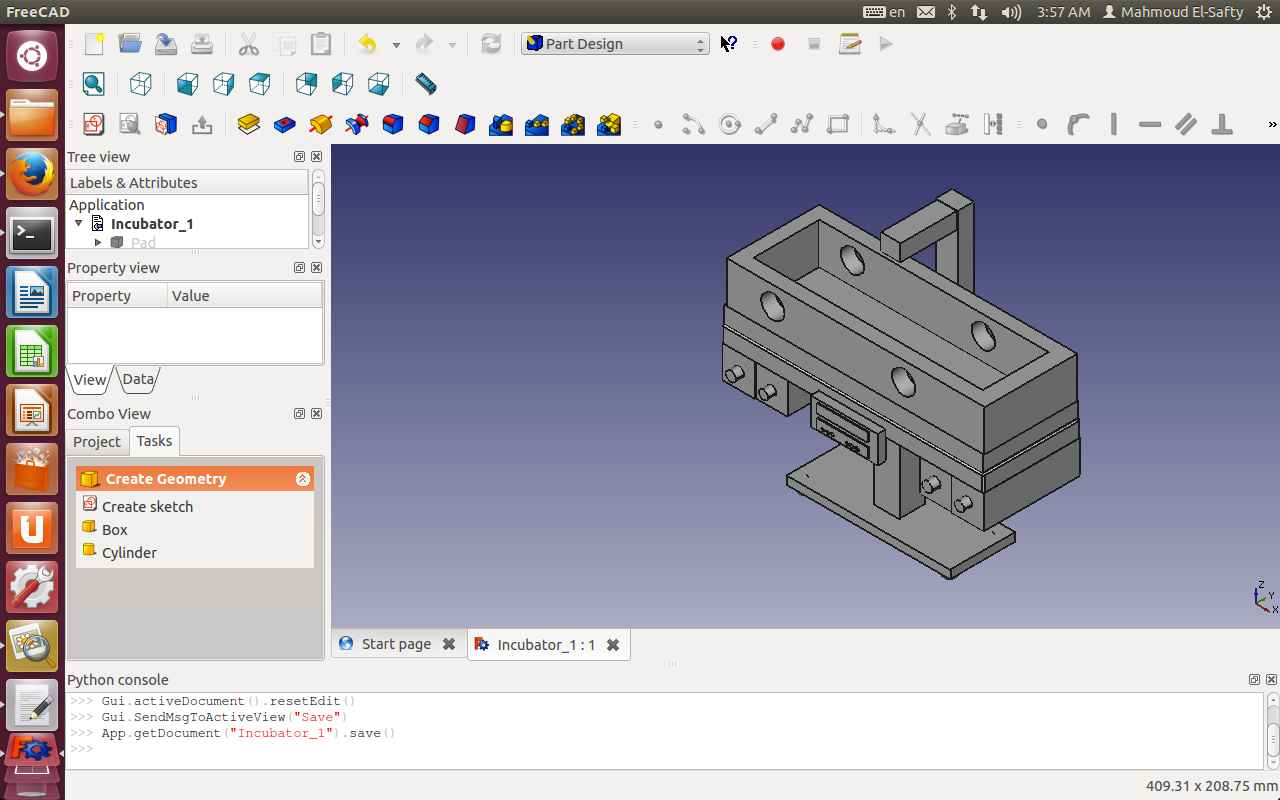
The PartDesign Workbench is specially made to build complex objects, starting from simple shapes, and adding or removing pieces (that we call "features"), until you get to your final object. All the features you applied during the modelling process are stored in a separate view called the tree view, which also contains the other objects in your document.
I have used FreeCAD to draw a 3D model for my final project